 en
en vi
vi es
es th
th pt
pt ms
ms ko
ko ru
ru fr
fr de
de ar
ar hi
hi id
id





Sep 17,2026
Lens Mold Tape Residue and Removal Problems in Production
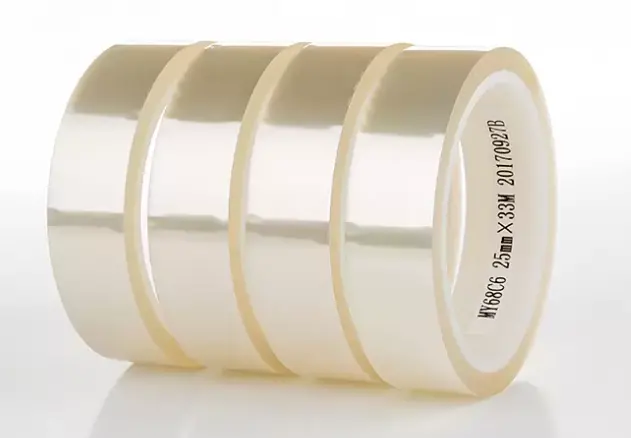
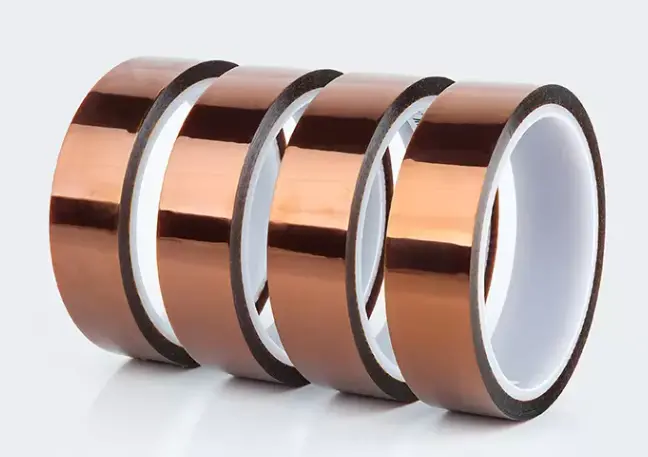
Lens mold tape residue is usually noticed after the tape is peeled from the mold. A thin adhesive film may remain on the mold surface, or small patches of adhesive may transfer from the tape to the mold. In a production environment, even a small amount of residue can become a repeated problem because it affects mold opening, cleaning frequency, cycle time, and the consistency of subsequent lens molding.
The cause is rarely just “too much adhesive.” The actual result depends on the interaction between the tape adhesive, mold surface, resin system, temperature, curing cycle, and peeling process. A tape that removes cleanly during a room-temperature trial may behave differently after spending time in a heated molding process.
For manufacturers using lens mold tape, the first step is therefore to identify when and where the residue appears rather than immediately changing the tape.
Several common patterns can help narrow down the cause:
· Residue appears across almost the entire contact area.
· Adhesive remains only around the edge of the mold.
· Small adhesive spots appear after peeling.
· Residue becomes more noticeable after higher-temperature curing.
· The tape removes cleanly from one mold but leaves residue on another.
These patterns indicate different interactions between the adhesive and the production conditions.
Adhesive residue generally occurs when the adhesive system does not maintain the intended balance between adhesion and cohesive strength during processing. The tape must hold the mold assembly securely, but the adhesive should remain attached to the tape when the tape is removed.
If the adhesive bond to the mold becomes stronger during processing, or if the adhesive itself softens or breaks internally, part of the adhesive can remain on the mold. This is commonly described as adhesive transfer or residual adhesive.
The situation can become more complicated during resin lens production because the tape may be exposed to monomers, curing heat, pressure, and changes in the mold assembly. The adhesive therefore needs to maintain stable behavior throughout the actual process rather than only during application.
A useful way to diagnose lens mold tape residue is to compare the tape before and after production. If the adhesive surface changes significantly after curing, the problem may be related to thermal exposure or interaction with the process materials rather than simply the initial tack level.
For an overview of the materials and applications involved, the optical lens mold tape product range can also be evaluated according to the actual lens molding process.
Lens mold tape removal becomes difficult when the tape develops excessive bonding with the mold or loses its mechanical stability during processing. In some cases, the tape itself can tear or stretch during peeling. In others, the film comes away but leaves adhesive behind.
These are different failure modes and should not be treated as the same problem.
Removal problem | Possible production cause | Typical result |
Tape peels with high force | Excessive adhesion or process-induced bonding | Difficult mold opening |
Adhesive remains on mold | Adhesive transfer or cohesive failure | Cleaning is required |
Tape stretches during peeling | Film or adhesive softening | Slow and inconsistent removal |
Tape tears | Excessive mechanical stress or weakened backing | Tape fragments remain |
Removal varies between batches | Material or process variation | Unstable production cycle |
Peeling speed can also affect the result. Pulling the tape too quickly may increase stress on the adhesive interface, while an inconsistent peeling angle can make removal less predictable. Operators may compensate by changing the removal method, but this can introduce another source of variation between production batches.
The objective of lens mold tape removal is not simply to make the tape easy to peel. It is to achieve controlled separation without damaging the mold, contaminating the surface, or creating additional cleaning work.

Temperature is one of the most important variables when investigating residue and removal problems. Adhesives are sensitive to temperature, and their behavior can change considerably between application and curing.
During a lens molding cycle, the tape may experience elevated temperature for a defined period. If the adhesive softens excessively, it can become more prone to transfer. If the adhesive chemistry interacts with the resin system or other process materials, removal behavior may also change after curing.
The complete thermal history matters, not just the maximum oven temperature. A useful production evaluation should consider:
· Peak processing temperature
· Time at elevated temperature
· Heating and cooling rate
· Number of heating cycles
· Resin or monomer exposure
· Time between curing and tape removal
For example, a tape may show clean removal after a short laboratory heating test but produce residue after a longer production cycle. The difference may come from cumulative thermal exposure rather than a single temperature threshold.
This is why lens mold tape removal should be validated under the same or closely simulated conditions used in production. A room-temperature peel test alone cannot represent every failure that occurs after curing.
The condition of the mold surface is another major factor. Two molds made from the same material can produce different removal results if their surface finish, cleanliness, or previous production history differs.
Oil, dust, polishing compounds, cleaning-agent residue, and previously transferred adhesive can all change the interface between the tape and mold. Surface roughness can also influence how the adhesive contacts the mold.
When residue appears unexpectedly, check whether:
1. The mold cleaning method has changed.
2. A different cleaning chemical is being used.
3. The mold has undergone polishing or surface treatment.
4. The mold has been reused for significantly more cycles.
5. Previous adhesive residue remains on the surface.
6. The tape is being applied to a completely dry surface.
A clean mold does not necessarily mean a chemically neutral mold surface. Cleaning agents or surface treatments can alter the way the adhesive wets and bonds to the mold.
For this reason, residue troubleshooting should compare the actual mold surface condition rather than assuming that the tape is the only variable.
Difficult demolding and mold residue are closely connected production issues. When adhesive remains around the mold interface, operators may need additional cleaning before the mold can be reused. This adds labor and can extend the molding cycle.
More importantly, repeated residue can gradually affect process consistency. If cleaning is performed manually, the amount of residue removed from one mold to another may vary. Excessive mechanical cleaning can also introduce scratches or surface changes over time.
The production impact can therefore extend beyond the visible residue itself:
· Longer mold cleaning time
· Increased mold handling
· More variable production cycles
· Higher risk of surface contamination
· Greater operator dependence
· Additional inspection requirements
· Potential delays between molding cycles
A residue problem that initially looks minor can become significant when multiplied across hundreds or thousands of production cycles.
A structured troubleshooting process is more useful than changing tape specifications immediately. Start by identifying whether the problem is related to the tape, mold, process, or interaction between them.
A simple comparison can be organized around four variables:
Variable | What to check | Why it matters |
Tape | Backing, adhesive behavior, batch consistency | Determines basic removal performance |
Mold | Material, finish, cleanliness, surface treatment | Changes adhesive interaction |
Process | Temperature, curing time, pressure, cycle count | Changes adhesive behavior during use |
Removal | Angle, speed, timing, operator method | Influences separation stress |
If only one production line experiences residue, compare its mold condition and process parameters with another line using the same tape. If every line shows the same problem after a process change, investigate the new curing or material conditions first.
If residue appears only with a particular mold material or surface treatment, the interface is likely the more important variable.
This approach helps avoid unnecessary changes to several variables at once, which can make the original cause difficult to identify.
Improving lens mold tape removal starts with controlling the complete application and removal process.
The tape should be applied to a clean, dry surface with consistent pressure. Wrinkles, trapped particles, and uneven contact can create localized stress concentrations that affect removal. Operators should also follow a consistent peeling method rather than relying on individual technique.
The tape itself needs to remain stable during the production cycle. In practical terms, manufacturers normally look for a combination of:
· Sufficient initial tack for positioning
· Stable adhesion during processing
· Good resistance to the actual curing temperature
· Controlled peel behavior
· Low adhesive transfer
· Consistent backing strength
· Clean removal after molding
These requirements need to be considered together. Increasing adhesion may improve fixation but can make removal harder. Reducing adhesion may improve peeling but can create movement during molding.
The target is therefore controlled adhesion with clean removal, not the highest or lowest adhesion value.
Laboratory testing is most useful when it reflects the actual production cycle. A basic screening test can compare tape behavior before and after exposure to the intended molding conditions.
At minimum, evaluate:
Before processing:
Check initial tack, application behavior, surface contact, and basic peel characteristics.
After thermal exposure:
Apply the same tape to the actual or representative mold surface, expose it to the production temperature and cycle time, and then inspect the tape and mold after removal.
After repeated cycles:
If the mold is reused, check whether residue or removal force changes after multiple production cycles.
The mold should be inspected under consistent lighting after each test. Very thin adhesive transfer may not be obvious during normal handling but can become visible during closer inspection.
For production qualification, a product such as 1.60 refractive index lens tape should be evaluated according to the actual resin, mold configuration, curing conditions, and removal requirements rather than selected from the refractive index alone.
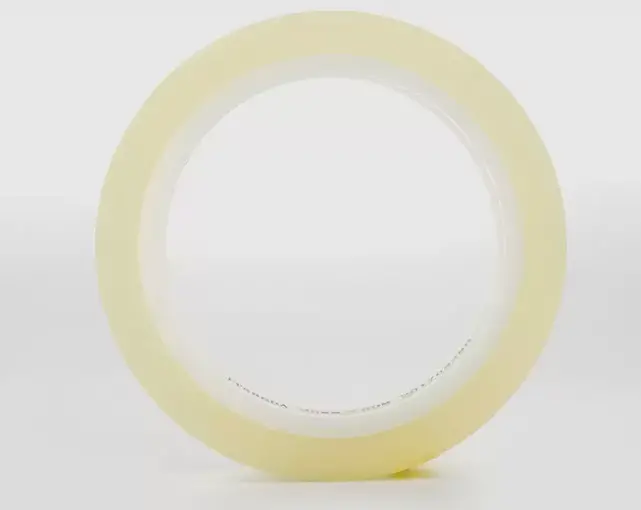
When a production team is experiencing residue or difficult removal, the solution is not necessarily a tape with lower adhesion. The better choice depends on what is happening at the adhesive interface.
The main questions should include:
· Does the tape remain stable throughout the curing cycle?
· Does the adhesive transfer to the mold after heating?
· Is removal force consistent from batch to batch?
· Does the tape backing remain intact during peeling?
· Does the tape work with the specific mold surface?
· Is the resin or monomer affecting adhesive behavior?
· Can operators remove the tape using a consistent method?
· Does the tape maintain clean removal after repeated production cycles?
Supplier qualification should include samples tested under actual production conditions. Technical data such as peel strength, thickness, and temperature resistance are useful for initial screening, but they should be followed by process-level testing.
For lens mold tape, the practical question is ultimately not whether the tape has strong adhesion or high temperature resistance in isolation. It is whether the complete tape system can hold the mold securely during processing and then separate cleanly when the molding cycle is finished.
A stable removal process reduces cleaning work, protects mold condition, and makes the transition from laboratory trials to repeat production much more predictable.